what to do when 1. your monitor is not turning on.

One of the most frustrating scenarios for a figurer user is when you encounter a working PC with a black screen.
You've turned on your reckoner; you can hear the fans spinning and the case beeping, and some of the lights are on.
However, you see no vital signs from the monitor, not a single image, calorie-free, or description.
The good news is you're not alone, and we've gathered all the possible causes of your upshot, along with their fixes.
Read on to do away with your bare screen headache.
PC Turns On But No Display (Causes, Fixes)
1. Check Your Monitor

Start things start: see if the monitor is working correctly before yous dive into more troubleshooting steps.
One fashion is to pair it with a spare computer case and check if the effect disappears.
If you don't take access to another PC, just detach your monitor from the organization and turn it on independently.
If it isn't defective, your monitor should blink a calorie-free, burnish upwards, or greet you with an on-screen prompt.
Any sort of signal from your monitor indicates it'due south working properly simply lacks adequate signal to show a picture.
In this case, you accept to go along to the next checks, but otherwise, you lot will demand to send the monitor for repair.
2. Cheque The Connections
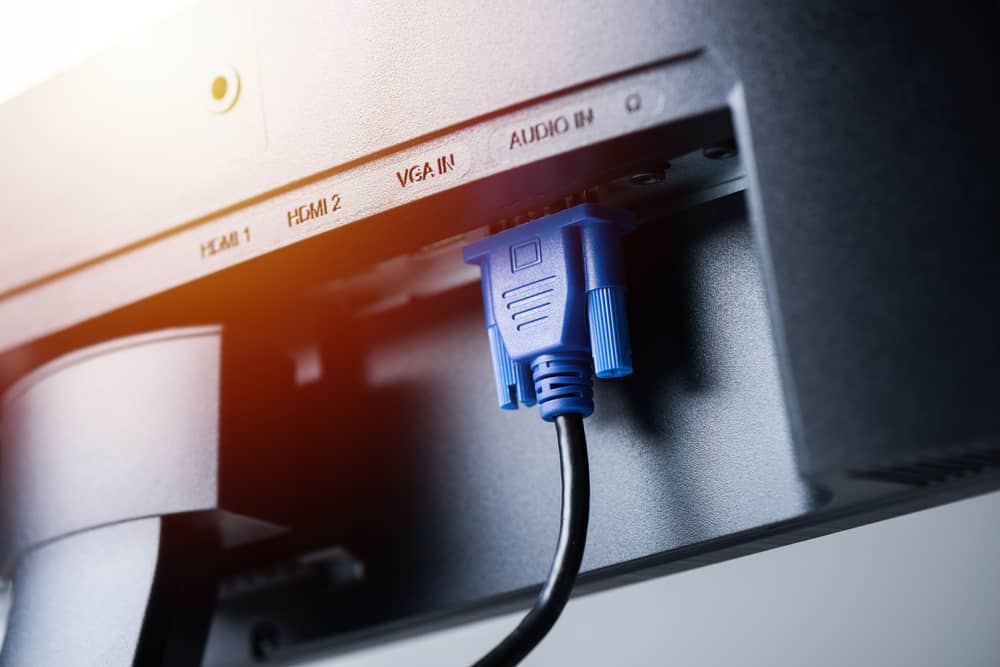
Fifty-fifty a flawless monitor may fail to ability on due to connectivity problems.
It's worth checking all the associated wires, ports, and adapters as your side by side diagnostic attempt.
Make certain the video and ability cables are firmly attached at both ends, with the screws fastened.
Examination your power cord with another outlet and your graphic cord with other ports.
If nothing changes, get for an culling cablevision to see if your cords are damaged.
Yous can likewise effort a dissimilar cable blazon if your monitor supports whatsoever—for example, connect your monitor via an HDMI cable if y'all're already using VGA.
Your last bank check would be adapters: brand sure they're in expert status and used in the proper style.
For instance, DVI to VGA converters can't work in the opposite direction.
3. Kickoff The PC From Scratch

Sometimes, your computer won't wake up from Standby, Sleep, or Hide way, giving you the false impression that it's working with no brandish.
That can have several causes.
Maybe y'all've disabled the mouse or keyboard from refreshing the organization, or perchance your PC tin't respond to ability-saving modes or Fast Startup.
To rule out this possibility, hold the power switch a few seconds to perform a full shutdown.
Then, ability it on again to run into the trouble vanish.
If information technology seems to solve everything, navigate the issue's roots and find a style to prevent information technology from recurring.
iv. Level Upwards Brightness
Computers can dim the display all the mode downward to zero, where you tin't see a single spot.
Therefore, you lot may mistake the situation with the no-display booting outcome.
Use the keyboard shortcuts to raise the effulgence and run into if this fixes the trouble for you.
5. Try The Wake Action Shortcuts

If your system however refuses to wake up, printing the Windows Key, Ctrl, Shift, and B simultaneously.
The control reinitiates the graphic driver and makes your system starting time with a working monitor.
Another play tricks before you get down to the hardware troubleshooting is to ensure you haven't enabled the "view on 2nd display but" choice.
To check this:
- Press Windows + P keys together to caput into the display switch menu.
- Squeeze the P cardinal once more than and striking Enter, which will take you to the next brandish mode.
(There are 4 brandish modes: "PC screen only," "Duplicate on 2d brandish," "Extend across all displays," and "Second screen only."
Therefore, you lot need to repeat this footstep four times to ensure you haven't missed any.)
vi. Lower The Screen Resolution

If the black screen problem occurs after a change in monitor resolution, chances are y'all've set up it as well high, and the monitor tin can't support it.
Therefore, it shows nothing.
In this case, revert the monitor to the former supported rate, so it regains its display capacity.
The best way to do information technology is to reset your monitor to default settings.
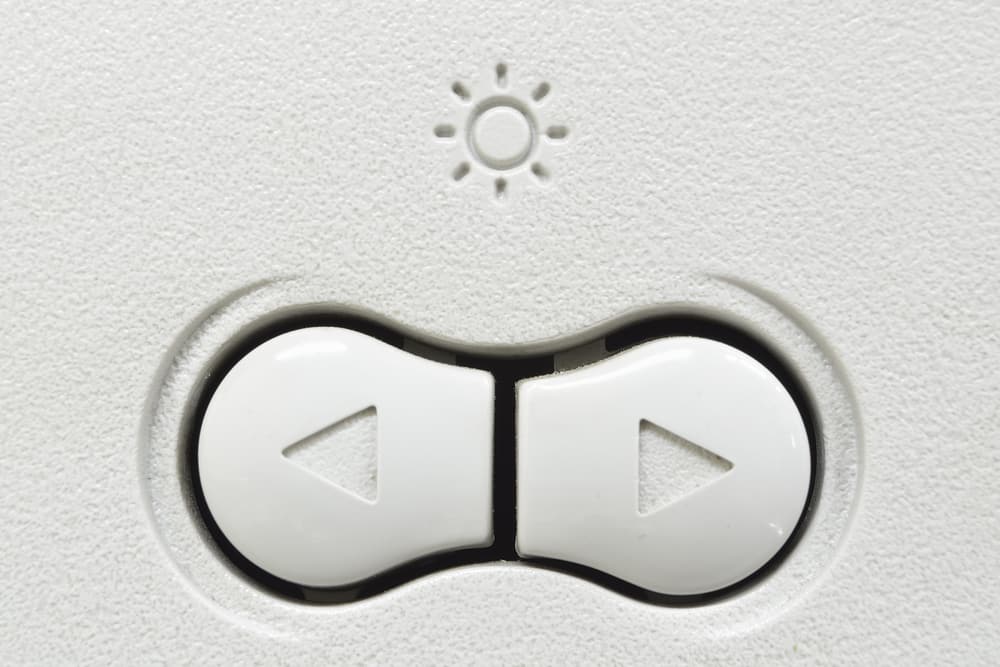
A. Reset The Monitor
While the procedure may vary depending on your monitor make, hither's what it usually takes to perform a monitor reset:
- Look at your monitor's sides, rear, or bottom to locate the control buttons.
- Squeeze the carte push, and and so apply the down/upwardly arrows to select the "RESET" selection.
- Ostend your option and go with the following prompts.
- Reboot your system, and it should load with the display on.
Alternative Method:
If you're using a laptop or a monitor without physical switches, endeavour this alternative method to lower the resolution value:
- Reboot your system and wait until you hear the brusk beep sounds.
- Press the up arrow on the keyboard and hitting Enter.
- Hold down the "Shift" fundamental and press the "Tab" button.
- At present, press the right pointer four times in a row.
- Press "Tab" once again.
- Use the left arrow to reduce the resolution rate and hit Enter.
B. Boot Your PC In Rubber Mode
If resetting the monitor isn't an option, try launching your PC in Safe Mode.
This feature loads your system at the minimum resolution, allowing you lot to view Settings and change everything back to normal.
Hither's how:
- Ability the computer off and on once more.
- While the system is in the booting procedure, press and hold the F8 fundamental.
- You'll see a handful of options: cull "Safety Manner" among them.
- Now, go to your System Settings and lower the resolution the same way you increased it:
- Go to the Start carte past pressing the Windows icon at the lower-left corner of the screen.
- Printing the tiny gear icon to enter your Windows Settings.
- Navigate to Organisation > Brandish > Scale & Layout > Display resolution.
- Attempt to stick with the recommended rate and relieve the changes.
seven. Tweak The Voltage Selector Switch
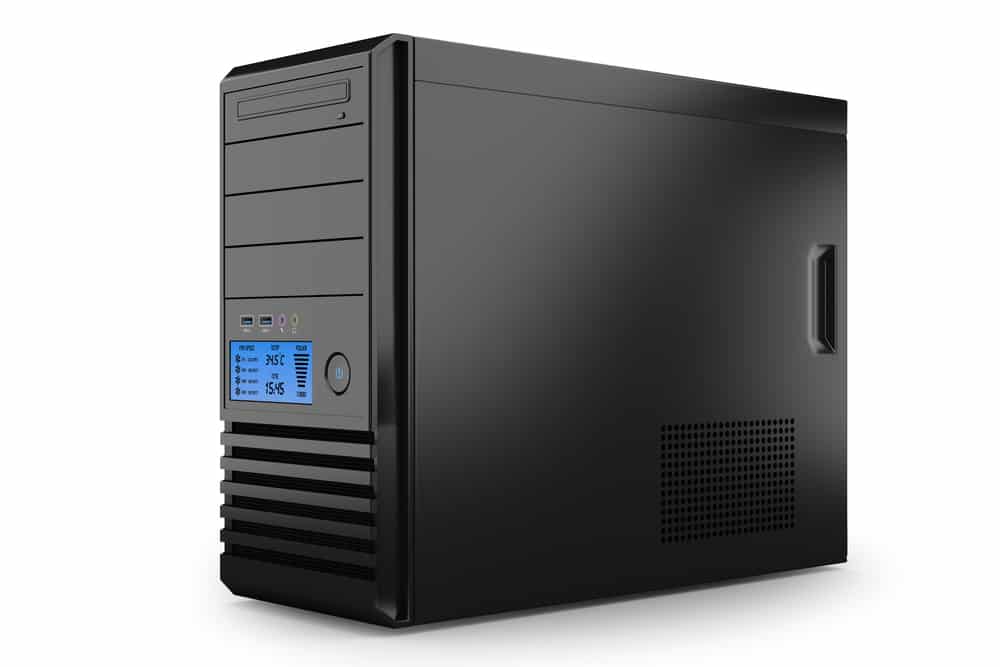
The Voltage Selector Switch is a concrete push button at the dorsum of your calculator that lets you rest your device's internal circuit with the input voltage level.
If set improperly, this mechanism exceeds or falls behind the incoming voltage for the power supply, impeding your PC's kicking role.
More frequently than non, the default value set by the Voltage Switch doesn't demand any changes as it matches your State'southward requirements.
However, if yous bought it from overseas or just moved to a new land, yous have to brand some adjustments.
In the US, for case, your figurer can happily work with 110 Volts.
If you're living in Europe, you may take to raise it to 230 Volts.
This chart provides the proper values across the world.
8. Heed To The Beep Sounds
Almost computers come with an internal motherboard speaker to warn you about hardware errors during the startup menstruation.
In normal situations, this speaker sends i or two brusk beeping sounds upon hitting the power button, which means the BIOS has booted the machine successfully.
Even so, the emitted sound may exist different when your PC turns on with no display.
Depending on what is causing the outcome, the beeping pattern, duration, and order may vary.
Listen carefully to the sound, jot the design downwardly, and find it in your motherboard manual.
If you've lost the manual, y'all can too utilize this guide to understand what the speaker is trying to tell you lot.
There may be something incorrect with your memory modules, graphics carte, cables, or CPU.
In one case you decode the sound, the hassle gets easy to work around.
9. Disconnect All The Peripherals
Sometimes, the no-display issue with your estimator is caused past a compatibility issue with i of the peripherals.
Turn off your calculator and detach as many USB devices as possible.
They tin can include everything from your Bluetooth, mouse, and keyboard to cameras, speakers, scanners, etc.
And then, press the ability push button to plow on your reckoner.
If the issue seems to disappear, reconnect the peripherals one by i to discover the main culprit.
Now, try one or more than of the post-obit methods to prevent the result from recurring:
- Update the associated driver (nosotros'll explicate how in the following sections).
- Contact the manufacturer'due south support team to report the upshot and become help.
- Search the device by name and model, then check the public forums to encounter if other users have faced the same issue and how they planned to set it.
- Replace the troublesome device with a compatible one.
ten. Update Your Drivers

A corrupt or outdated driver—whether information technology belongs to the graphics cards, some peripheral, or essential hardware—can ruin your PC to the point that it can't start up anymore.
Updating these files tin be a magical fix to the no-display outcome.
The thing is, you can't visit Settings to update anything unless you plow on the screen.
If you've successfully restored the monitor'south display by removing a faulty peripheral, you're good to go.
If y'all haven't, effort launching your system in Safe Mode to get the chance to view the PC'south bones configurations.
Then, continue with the following steps:
- Type "Device Manager" in the search box you run across in the taskbar.
- Click the top result to open up the app.
- Expand a category, depending on what driver you want to update.
(It can be a peripheral category such as Bluetooth, Keyboards, Cameras, etc., or the display adapters category.)
- Then, right-click the specified device name among the list of entries.
- Click "Update Driver" and proceed to the on-screen directions.
xi. Clear The BIOS Configs
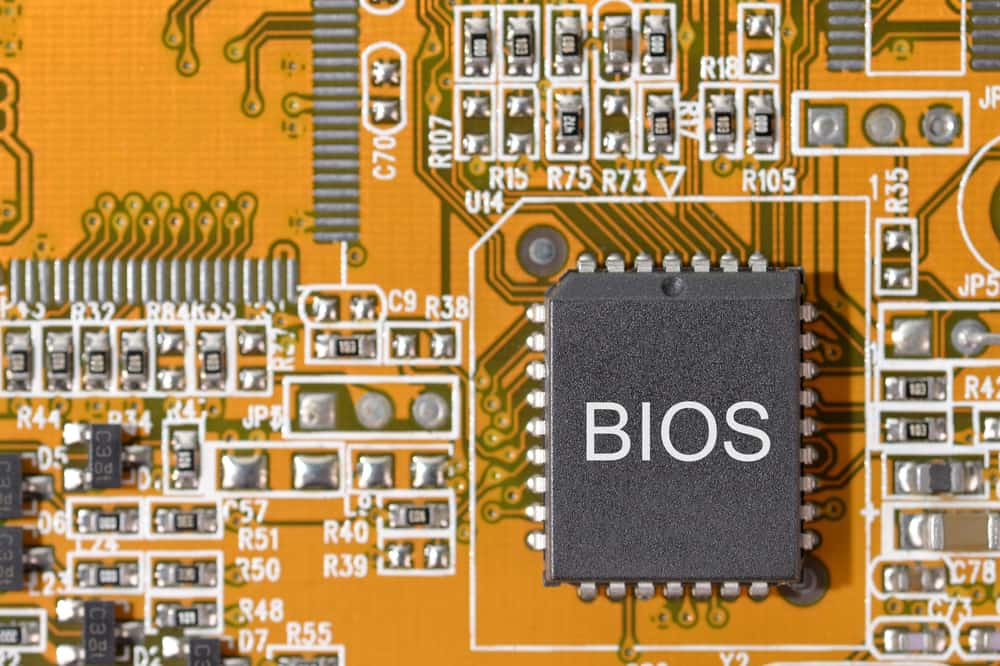
Curt for Bones Input/Output Organization, the BIOS is a congenital-in program that your microprocessor uses to offset upward your Os.
As a central boot-up programme, it may agree responsibility when your PC turns on with a blank screen.
Any misconfiguration in the software can issue in a non-loading system.
The good news is, although you tin can't access the settings due to a dead screen, you can clear its retentiveness by accessing the BIOS chip found on the motherboard.
This will, in turn, reset your BIOS into the default status.
- Press and hold the power button for about ten seconds to switch it off and belch the static electricity.
- Unplug it from the ability source.
- Open your estimator chassis to access its motherboard.
- Locate the CMOS coin jail cell battery and flip up the protective clip if there is one.
- Then, slide your finger beneath the bombardment to pop it up from its identify.
- Wait about five minutes before you put the battery back and reconnect the ability.
Video:
Notation: If it doesn't solve anything, try removing the CMOS again, and boot your computer without it.
That'southward because the CMOS itself might be the problem. If depleted, it can prevent your PC from starting.
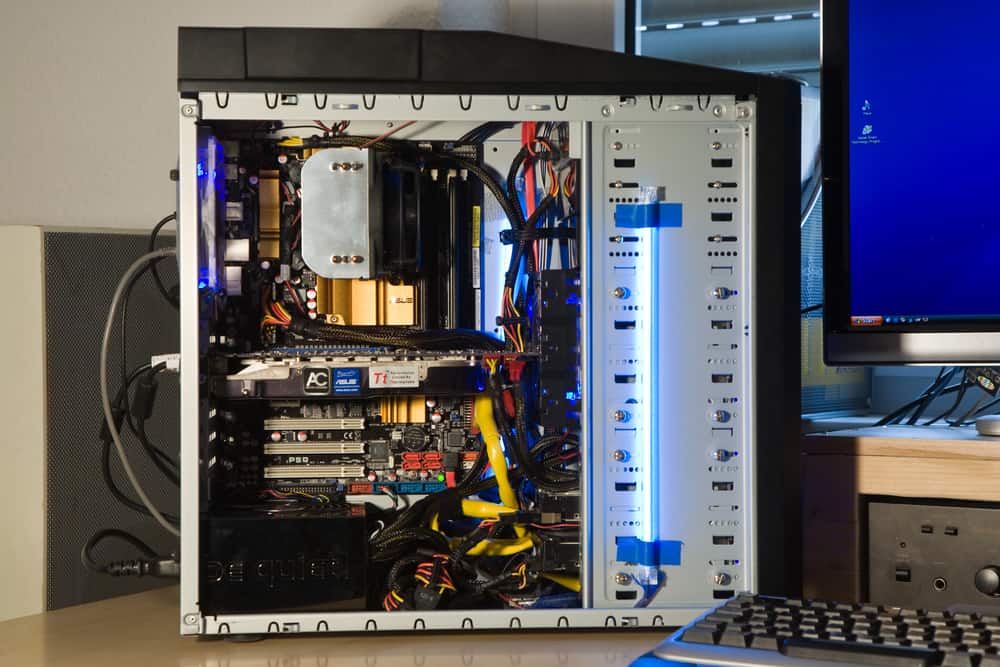
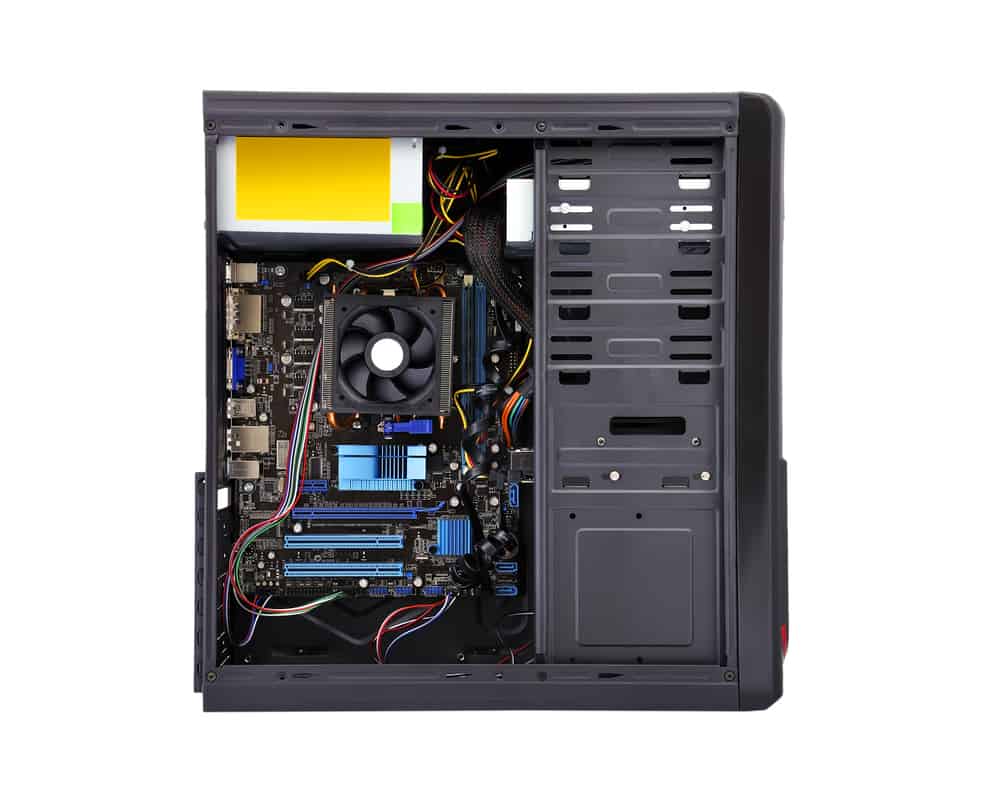
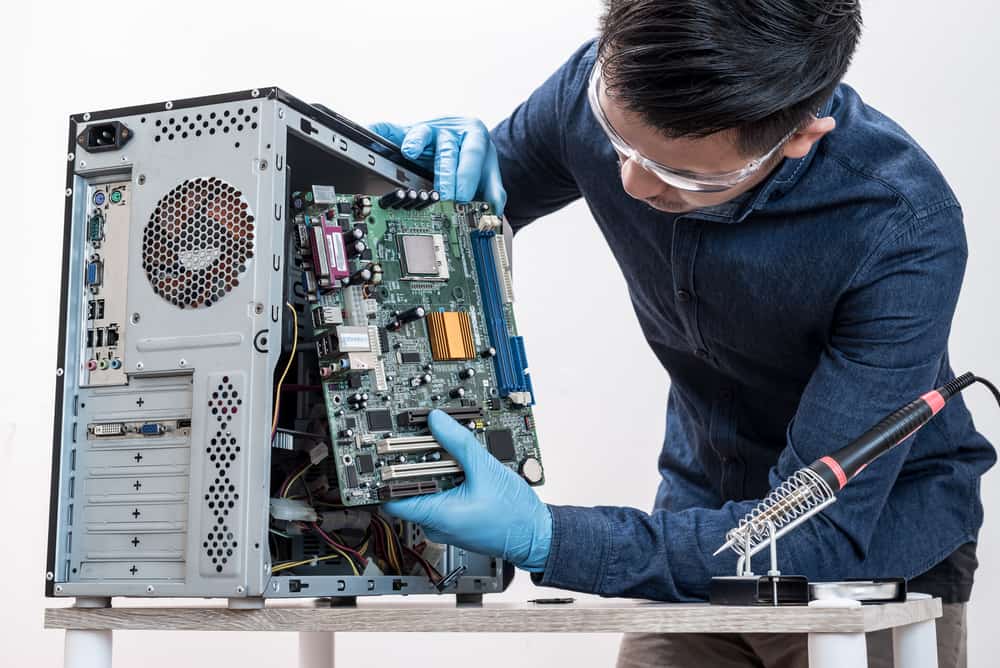
12. Check And Reinstall Your Hardware
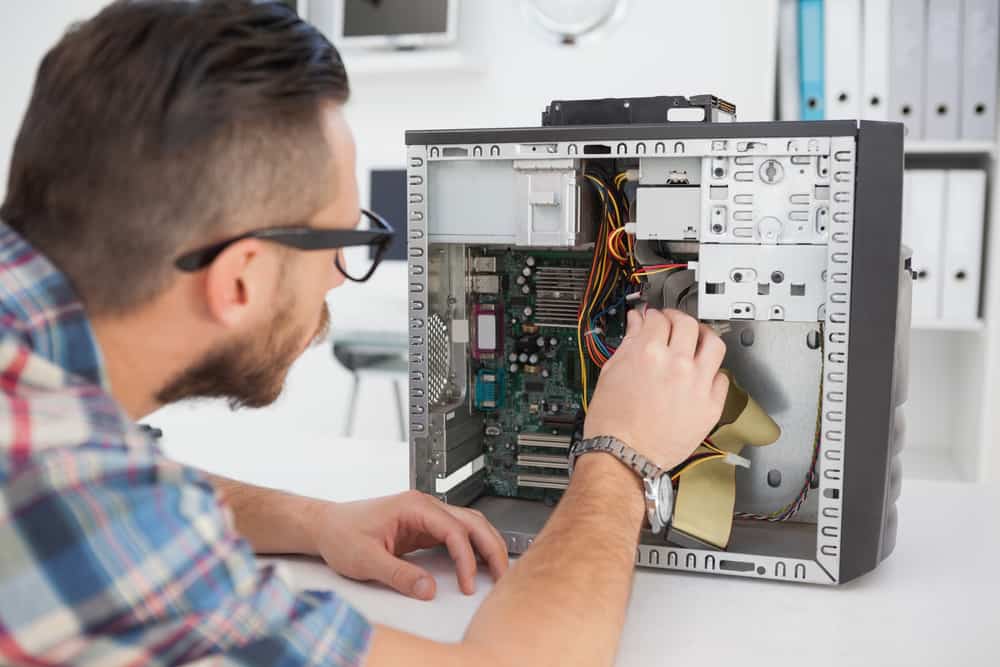
If yous've recently built, cleaned, upgraded, or displaced your tower, some of the internal components may have come loose, preventing your PC from loading.
Therefore, information technology'southward a skillful idea to open up the chassis and reseat every single slice of hardware.
Here are the 3 most important pieces to check.
A. Graphics Card
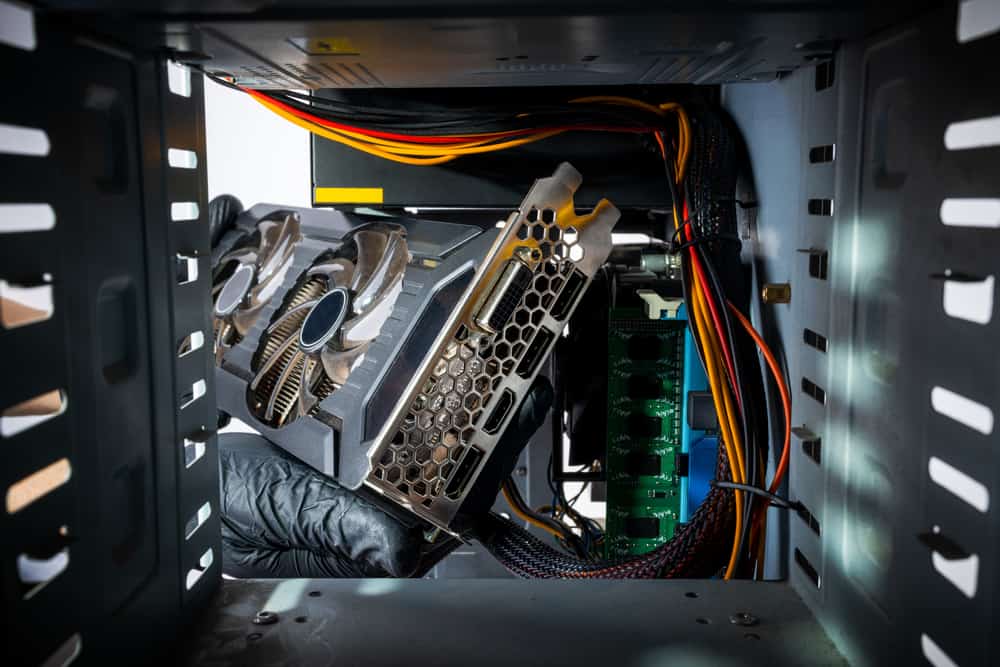
The graphics menu or GPU is a circuit board on your motherboard that processes graphical information, then renders it into meaningful signals and then the monitor can show you the relevant pictures.
If a monitor displays nothing, your graphics carte du jour may be the get-go component to blame, especially if you lot see a "no betoken" mistake on the screen.
Possible bug with the graphics card include griminess, corrosion, physical harm, or beingness wobbly.
You need to remove the unit, make clean information technology along with its holding bracket, and ensure that it'due south securely bolted.
Here's how:
- With the computer unplugged, detach all the cables at the dorsum of the PC tower.
- Use a screwdriver to open upwards your system'due south enclosure.
- Locate and unscrew the lath from the PCI subclass.
- While holding the lath with one paw, toggle the retention lever with some other to unclip information technology from its mounting position.
Reconnect the cables and plow on the PC without the graphics card.
If the monitor does bear witness upward, continue with the post-obit steps:
- If you see any signs of corrosion on the golden pins, dampen a cloth with isopropyl booze, and rub information technology gently.
- Then, utilise a damp cotton swab and air compressor to clean up the dust, grease, etc., from the exciting slot.
- Reseat the graphics card and ensure the ejector clips latch onto the board. (You'll hear a click sound if it does.)
- Attach all the wires and test your reckoner.
- If it'southward still non displaying anything, put the graphics bill of fare into a different slot as the final resort (if your motherboard has more than one slot for a graphics carte du jour).
- If the PC still turns on with no display, replace the component, or take information technology to the repair shop.
B. RAM
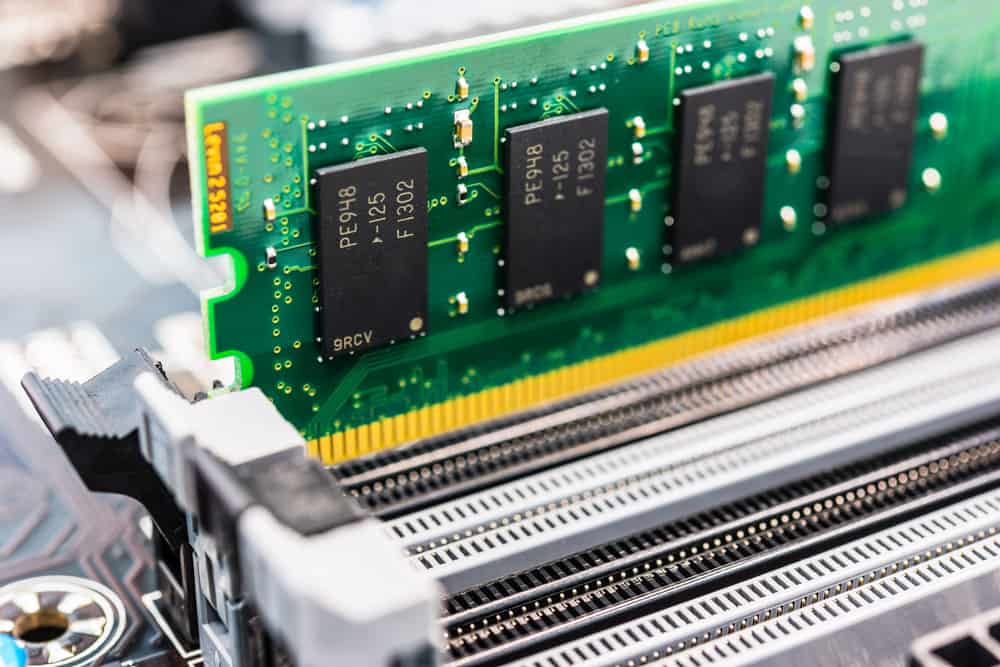
A loose connexion between your motherboard and RAM sticks tin make your PC turn on without display.
Clogged retention slots and faulty or corroded modules can likewise bring the same effect.
Here's how to check:
- Open your computer's cabinet.
- Look for two or iv rectangular green sticks placed into the motherboard grooves.
- Each stick has ii clamps at each edge: Squeeze them and so that the board pops out of their notches.
- Put the sticks aside on a lint-free cloth.
- Apply a cotton swab and a can of compressed air to remove the dust inside the fracture.
- Grab one of the modules by the border without touching the gold pins.
- Push it down in the slot until you hear a click of the lock, and repeat the process for other sticks.
- Ensure every wire to and from the motherboard is connected to the right place.
Note: If this didn't solve anything, chances are only 1 of the models or apertures is faulty.
Here's how to know:
- Activate your system with simply one module to see how it works.
- And then, place the same module into different slots and test the PC after each endeavor.
- Repeat this procedure for all the sticks to spot the unsound piece.
C. CPU And Motherboard
The CPU is the core component, or technically, the encephalon of your computer.
The motherboard is its backbone, the main sail that houses all the diverse components and connects them to the processor.
It's no surprise that any minor fault in this hardware tin put a big doorstop in front end of your PC.
Withal, since these are vulnerable components, you tin't but unseat, clean, and reinstall them to see if they're the principal cause of your issue.
What you can do is perform a concrete check to go data virtually the CPU.
It lets you know if the parts are overheated, crashed, or incompatible by any means.
And so, you'll effigy out if professional assist is necessary.
D. Visual Check

- Achieve your CPU past opening the computer tower and come across if the capacitors at the top of the motherboard have leakage, inflammation, or indentation.
- Cheque for any aptitude pins toward the motherboard.
- Put your hand in front of the CPU fan to run across if information technology blows sufficient air.
- Listen for any creaking audio from the CPU fan that indicates a defective one.
E. Temperature Check
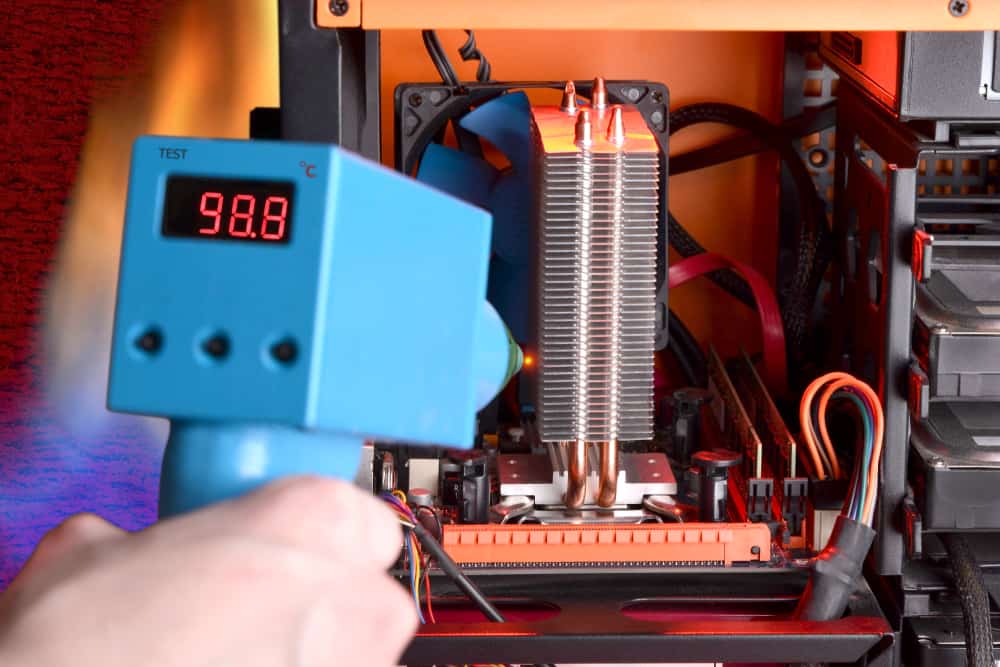
An excellent way to check your CPU functioning is to observe its temperatures in the BIOS.
This trick is but available if you can load Windows in Condom Mode:
- While in the Safe Style, go to the Get-go menu and select the Settings icon.
- Navigate to Update and Security > Recovery > Advanced Startup.
- Select the "Restart Now" button to view a new blue window saying, "Cull an Choice."
- Printing "Troubleshoot", "Advanced Options", and so "UEFI Firmware Settings."
- After the BIOS page emerges, discover an option that says, "PC Health Status," or "System Hardware Monitor," or something forth the same lines. (It may have a different category proper noun, depending on your PC.)
- Make certain the CPU temp remains under 70°C or 158°F.
(Note that the safe range may vary depending on your PC and CPU model, your activities, etc., then have a expect at this video before you make up one's mind your CPU is overheating:
Transport your estimator to a service center only if you plant something suspicious in the in a higher place checks.
Source: https://www.thetechwire.com/pc-turns-on-but-no-display/
0 Response to "what to do when 1. your monitor is not turning on."
Post a Comment